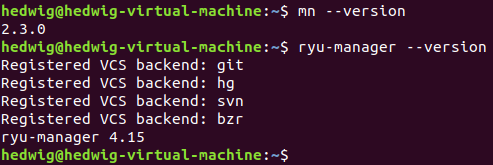
在Ubuntu16及18操作系统下依次安装mininet、Ryu、openvswitch,以此搭建SDN环境,并提供openvswitch的源码安装方式
升级PIP
1
2
3
sudo apt install curl
curl https://bootstrap.pypa.io/pip/3.5/get-pip.py -o get-pip.py
python3 get-pip.py -i https://pypi.tuna.tsinghua.edu.cn/simple
安装Mininet
1
2
3
4
5
sudo apt-get install git
git clone git://github.com/mininet/mininet
cd mininet/util
sudo ./install.sh -n
sudo ./install.sh -f
安装Ryu
1
2
3
4
git clone https://github.com/faucetsdn/ryu.git
sudo apt install gcc python-dev libffi-dev libssl-dev libxml2-dev libxslt1-dev zlib1g-dev
cd ryu
pip3 install . -i https://pypi.tuna.tsinghua.edu.cn/simple
测试安装
使用mininet自带的测试方式
1
sudo mn --switch ovsbr --test pingall
使用Ryu的simple_switch进行功能测试
1
2
sudo mn --controller= remote,ip= 127.0.0.1,port= 6653
ryu-manager --verbose simple_switch_13.py
OVS源码安装
从OVS官网下载源码压缩包
1
2
wget https://www.openvswitch.org/releases/openvswitch-2.15.1.tar.gz
tar -zxvf openvswitch-2.15.1.tar.gz
进入OVS目录进行编译与安装
 1
 2
 3
 4
 5
 6
 7
 8
 9
10
11
cd openvswitch-2.15.1/
# Bootstrapping
./boot.sh
# Configure the package by running the configure script
./configure --with-linux= /lib/modules/` uname -r` /build
# Run GNU make in the build directory
make
# Install the executables and manpages into the running system, by default under /usr/local
sudo make install
# If you built kernel modules, you may install them
sudo make modules_install
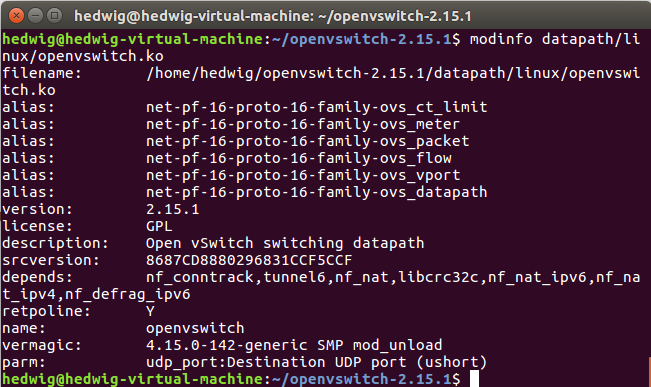
查看OVS相关内核模块的信息
1
2
# 检查内核模块依赖组件
modinfo datapath/linux/openvswitch.ko
1
2
3
4
5
6
7
8
# 安装对应的依赖组件
sudo modprobe nf_conntrack
sudo modprobe tunnel6
sudo modprobe nf_nat
sudo modprobe nf_defrag_ipv6
sudo modprobe libcrc32c
sudo modprobe nf_nat_ipv6
sudo modprobe nf_nat_ipv4
加载安装OVS内核模块
1
2
3
4
5
6
# Finally, load the kernel modules that you need
sudo insmod datapath/linux/openvswitch.ko
# 该语句存在问题 因此使用上一行的语句进行内核模块安装
sudo /sbin/modprobe openvswitch
# To verify that the modules have been loaded
/sbin/lsmod | grep openvswitch
1
2
3
4
5
6
7
8
# 初始化数据库
sudo mkdir -p /usr/local/etc/openvswitch
sudo ovsdb-tool create /usr/local/etc/openvswitch/conf.db vswitchd/vswitch.ovsschema
sudo mkdir -p /usr/local/var/run/openvswitch
# 创建日志文件
sudo mkdir -p /usr/local/var/log/openvswitch
sudo touch /usr/local/var/log/openvswitch/ovsdb-server.log
sudo touch /usr/local/var/log/openvswitch/ovs-vswitchd.log
创建启动脚本,写入每次系统启动后的初始化命令
 1
 2
 3
 4
 5
 6
 7
 8
 9
10
11
12
cd ~/Desktop
# 创建启动脚本
gedit ovs-start
# 启动脚本内容
ovsdb-server --remote= punix:/usr/local/var/run/openvswitch/db.sock \
= db:Open_vSwitch,Open_vSwitch,manager_options \
= db:Open_vSwitch,SSL,private_key \
= db:Open_vSwitch,SSL,certificate \
= db:Open_vSwitch,SSL,ca_cert \
ovs-vsctl --no-wait init
ovs-vswitchd --pidfile --detach --log-file
1
2
3
4
# 修改为可执行
sudo chmod a+x ovs-start
# 启动
sudo ./ovs-start
每次系统重启后,需执行以下命令以启动OVS
OVS内核组件的卸载
方式一
1
lsmod | grep openvswitch
1
2
3
sudo rmmod openvswitch
# 检查没有输出
lsmod | grep openvswitch
方式二
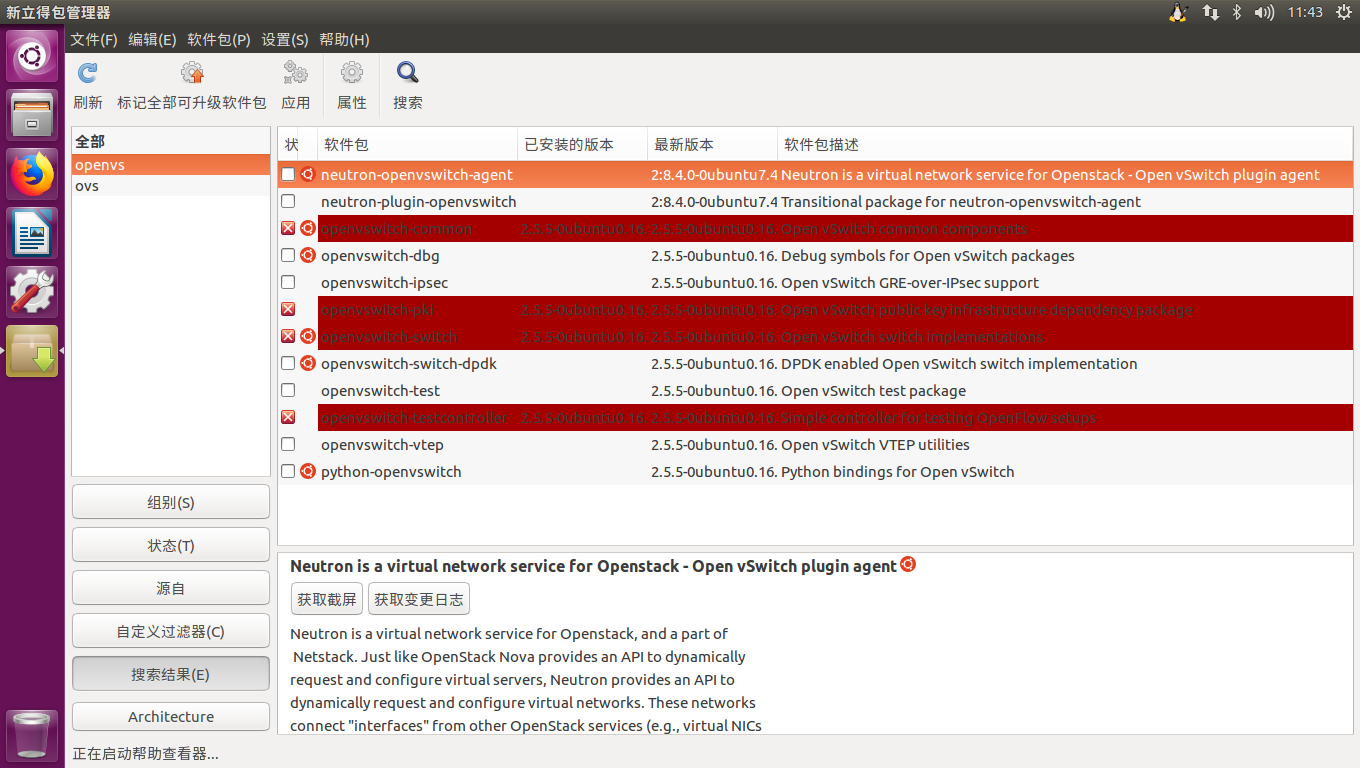
采用新立德管理器移除
Ubuntu18或更高版本的包安装
包安装mininet
1
sudo apt-get install mininet
包安装Ryu
1
2
sudo apt install gcc python-dev libffi-dev libssl-dev libxml2-dev libxslt1-dev zlib1g-dev
sudo apt install python3-ryu
Licensed under CC BY-NC-SA 4.0


